

Starting with version 8.4, Airlock IAM supports Config Snippets. Learn how they make integration of new functionality, such as identity proofing, much easier.
A few months ago, we published an introduction to Identity Proofing and how it can be easily done with Airlock IAM.
The blog post was accompanied by a GitHub repository containing a full IAM configuration. Simply download, import and activate. However, there are some disadvantages:
- A complete configuration not only specifies identity proofing but also the database, the login flow and other self-services.
- Integration of the identity proofing functionality into an existing project can be done but it requires extensive manual work.
In the meantime, we updated the repository to include a Config Snippet as it is supported by Airlock IAM 8.4.
Config Snippets are a feature of the new IAM Config Model which introduces a new file format (YAML) and allow config automation. Please check the product documentation for detailed information about these new possibilities. In addition, we will soon show in another blog post how specific challenges can be addressed. Stay tuned.
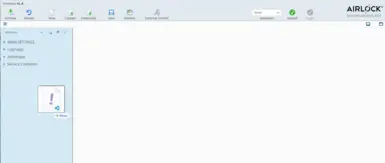
Import IAM Snippet
For the moment, let’s continue with the instructions on how to work with the Config Snippet, to add identity proofing to your existing configuration:
1. Clone repository airlock-iam-examples
2. Copy Config Snippet 'registration-with-identity-proofing.yaml' from directory 'identity-proofing-with-airlock-iam/snippet'.
3. Use Drag & Drop to import the Snippet in IAM Config Editor into the plugin tree (left).

4. Answer the followup question:
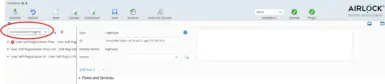
Link plugins
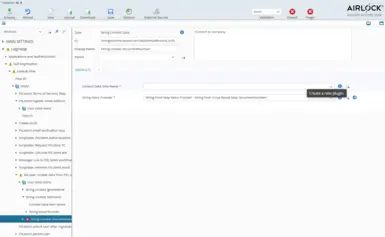
The Identity Proofing functionality is now part of your configuration but is not yet integrated into the flows. Follow theses steps to do this:
1. The new plugins are not yet linked into your plugin tree and listed under "unconnected plugins".
2. In Loginapp, add the new self registration flow as Default or other flow.
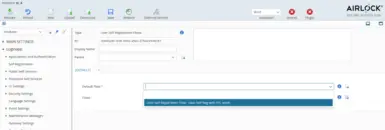
3. The new self registration process adds values to specific user context data fields. Usually, these fields are already defined in an existing configuration and have to be referenced.

Email address:
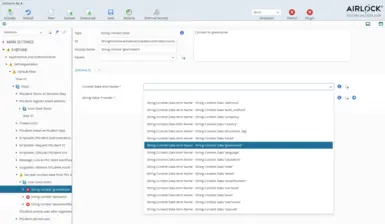
First and last name (only showing first name, here):
Nr of identity document:
This context data field needs somewhat special handling as it usually does not yet exist. Consequently, it has to be created (not showing the details as they are not different from any other context data field).
By using these few simple steps, identity proofing has been added to the existing configuration which can now be activated.